

Introduction
Do you want to add a desktop environment to your already installed Ubuntu Server? That is easy to do, and there are many options to choose from. You can turn your simple Ubuntu Server to a Remote Desktop Ubuntu Server and connect to it using RDP/XRDP or VNC.
The Ubuntu Server installation doesn’t include a GUI (Graphical User Interface) by default. The reason for that is that running a graphic desktop environment is resource-heavy, and we usually need all the resources we can get to run the usual tasks of a Linux server.
Installing a GUI on your server, especially if it is a smaller scale VPS is not recommended, but sure there are things that are easier done through a GUI environment rather than the simple command line.
This guide will tell you what you need to install a GUI on your Ubuntu Server, how you can install that GUI, what are your choices, and then how can connect to your remote desktop environment.
Installing GUI on Ubuntu Server
Before we start, there are a couple of things you need.
Prerequisites
- A server running Ubuntu Linux Server (of course!)
- Access to a user account with sudo or root privileges
- Your server’s IP address (since you’re probably connecting remotely)
- The apt-get package manager for Linux, so you can install what you need (included by default)
Generally, you don’t need a graphic interface to work with your server; you can access a server via its command line or SSH with a tool like PuTTY.
If you are going to connect using Putty or something similar, remember that you won’t be able to actually enter the desktop environment through putty after installation. There are a couple of easy extra steps to connect to your remote Ubuntu desktop through other means.
Update Repositories and System Packages
The first step is to make sure that all your packages and repositories on the server are up-to-date. To do that, execute the commands below:
sudo apt-get update
sudo apt-get upgrade
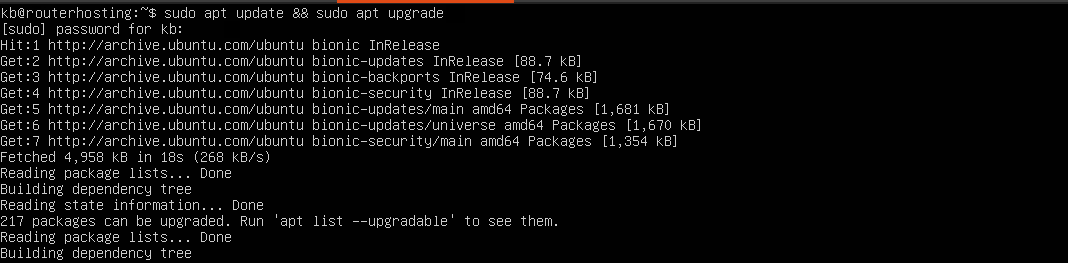
Press Y and hit enter when asked if you want to continue.
This ensures you are working with the most recent software updates.
Next, we will need to install the tasksel manager utility. Tasksel is a utility for Ubuntu/Debian used to install multiple related packages. Execute the command below on the command-line:
sudo apt-get install tasksel
Once again, press Y and hit enter when asked if you want to continue.
Install a Display Manager
A display manager is an application that starts the display server, launches the desktop, and manages user authentication. It’s also known as “login manager.” The default display manager, GDM3 (used with KDE-Plasma) is resource-intensive and therefore not a good choice for a Linux server. You should be conserving server resources as much as you can, so it is recommended to consider a lighter display manager such as SDDM, SLiM, or LightDM.
To install the display manager you have chosen, use the apt-get package manager.
Installing SLiM
To install SLiM:
sudo apt-get install slim
Installing LightDM
To install LightDM:
sudo apt-get install lightdm
You can also install SDDM display manager from the tasksel menu during the KDE installation.
Install a GUI for Your Server
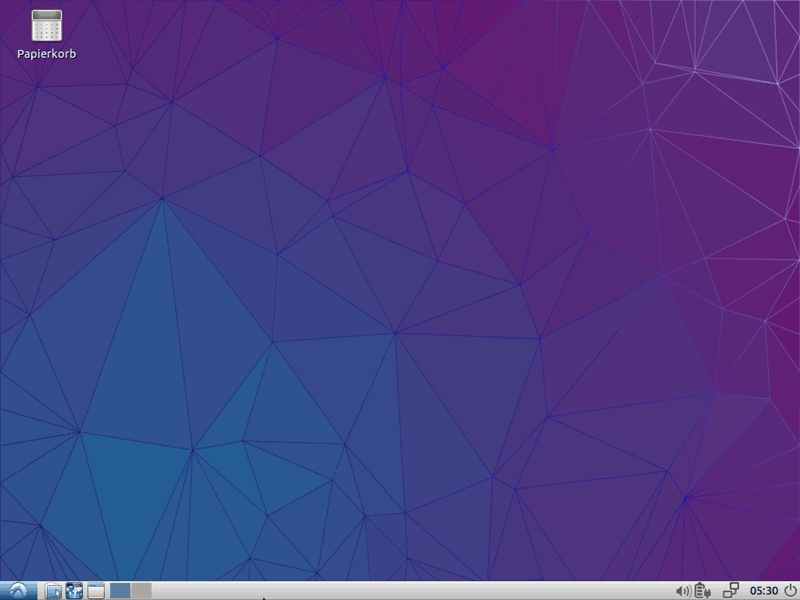
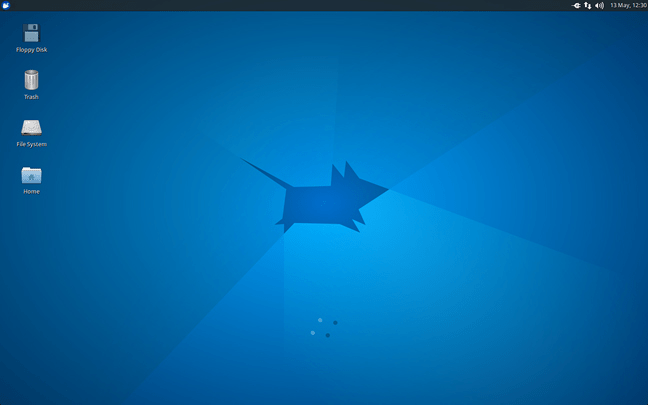
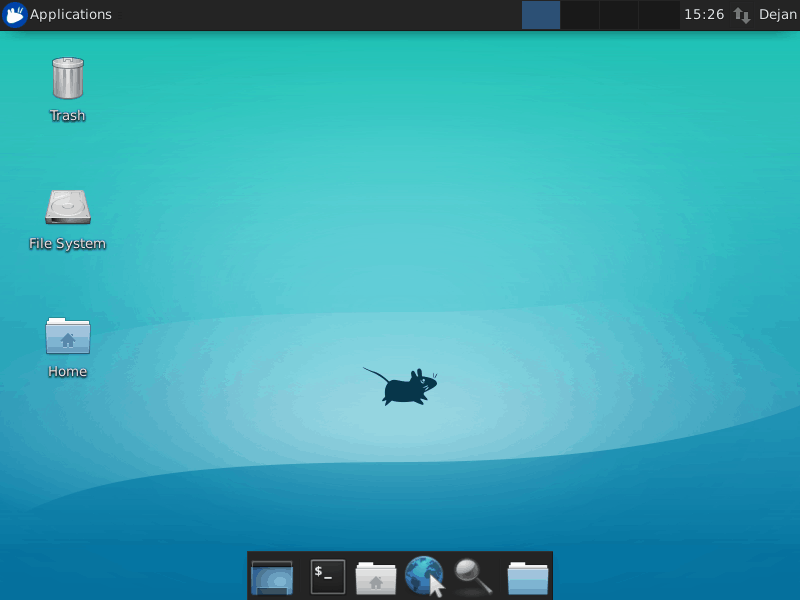
A Desktop Environment (DE) is a set of software running on top of the Linux kernel to create the GUI. It determines the look and feel of the interface environment, including the windows, apps and folder icons, colors, themes, and more.
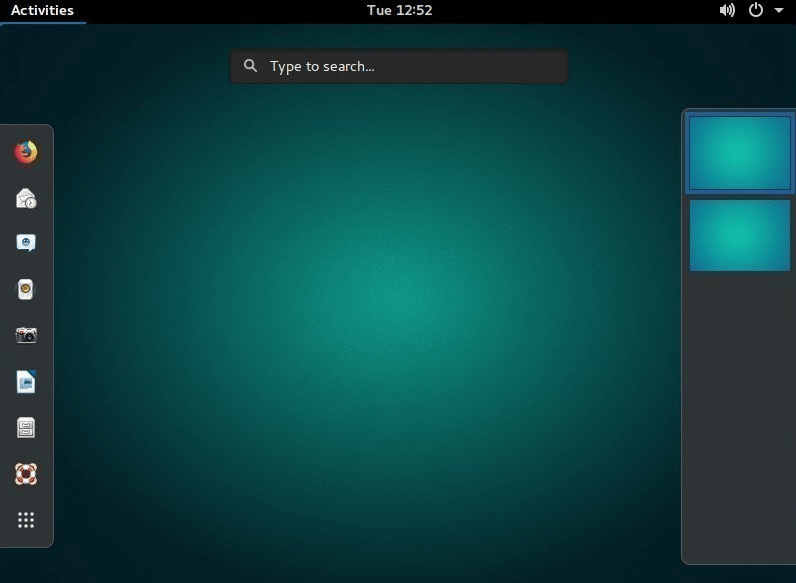
GNOME is the default GUI for most Ubuntu installations, loosely based on the Apple ecosystem.
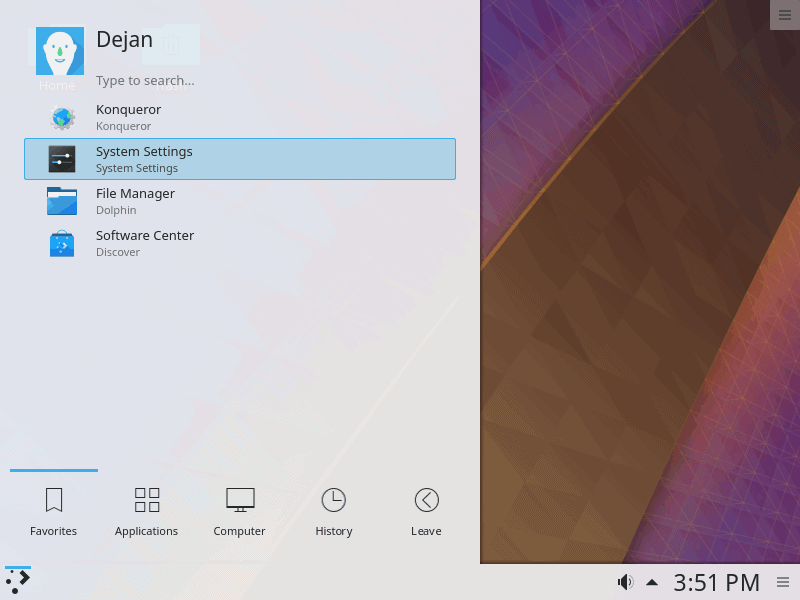
KDE Plasma is another popular GUI that is loosely based on the Microsoft Windows ecosystem. If you want to have the look and feel of a regular Ubuntu system, choose one of these desktop environments.
Other popular GUI for Ubuntu include Mate Core, XFCE, Lubuntu Core Server Desktop, Xubuntu Core Server Desktop, and more.
Very Important Note: Even after installing one of the GUI below, you won’t be able to see the GUI or login to your Ubuntu server desktop using a remote SSH connection through Putty or a similar method (such as Windows 10 default SSH.) You need to re-login to your server using command-line and continue the next steps to enable a remote desktop login method.
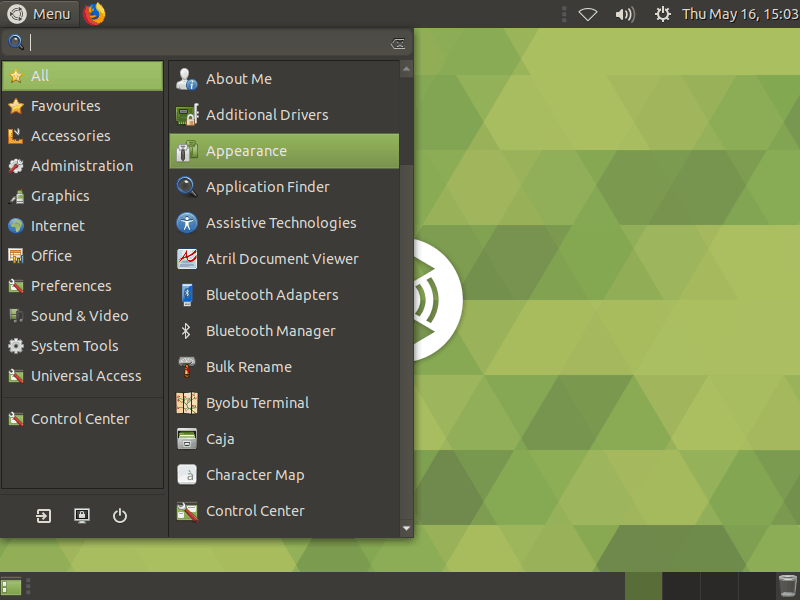
Install GNOME
To install GNOME, start by launching tasksel:
$ tasksel
After executing tasksel, a colorful interface will appear that shows a list of various software. Scroll down using the arrow keys until you reach Ubuntu Desktop. Select this item using the Space Bar. Then press the Tab key to jump to the OK button and hit Enter.
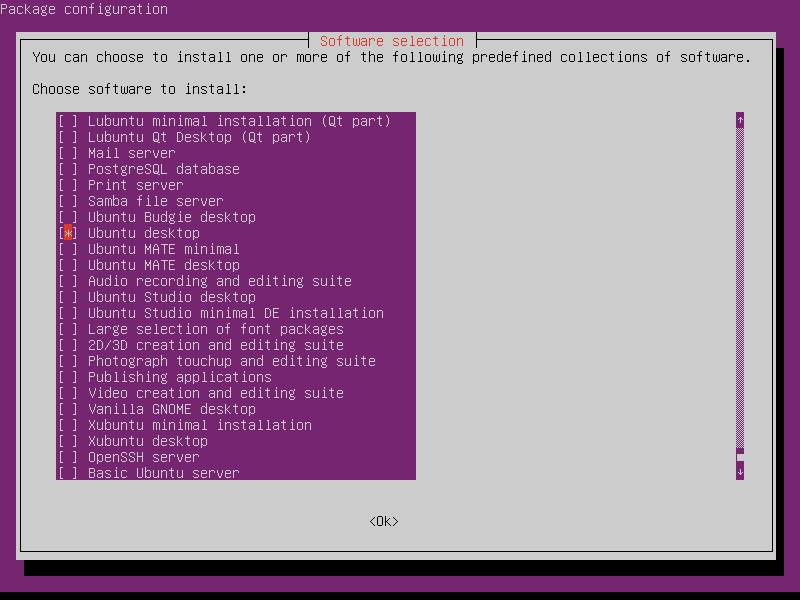
Now the system will install the software you have selected and reboot, giving the system a graphical login screen generated by your default display manager. For this guide, we will go with SLiM.
Install KDE Plasma Desktop Environment
To install KDE Plasma, execute the command below:
sudo apt install KDE-plasma-desktop
To launch the KDE Plasma, use the command below:
sudo service [your-display-manager] start
Note: Replace ‘your-display-manager’ with your installed display manager, e.g., SLiM, LightDM, SDDM, etc. You will then need to enter your credentials to log in, if you have physical access to your server. If you’re doing this remotely, you will later be able to connect remotely to your desktop. See the steps after GUI installation.
Very Important Note: These traditional Ubuntu Server GUI applications require substantial system resources. They may impact the functionality of your server. If you need to maximize your server resources, consider one of the lighter GUI applications listed below.
Install Mate Core Server Desktop
Install Mate Core Server Desktop
Execute the command below on the command line.
sudo tasksel install ubuntu-mate-core
Once the action is complete, launch the Desktop Interface with the command below.
sudo service [your-display_manager] start
To exit the Graphical Interface, execute the command below:
sudo service display-manager stop
Note: Replace ‘your-display_manager’ with your installed display manager, e.g., SLiM, LightDM, SDDM, etc. If you’re doing this remotely, you will later be able to connect remotely to your desktop. See the steps after GUI installation.
Note: If you have physical access to the server, you may need to press Ctrl-Alt-F1 to get back to the server’s command line interface. Also note, this process automatically installs and uses the lightdm display manager.
Install Lubuntu Core Server Desktop
Based on the LXDE desktop environment, Lubuntu core is a lightweight GUI you can use for your Ubuntu Server. Use this application if you need a graphical interface, but want to minimize the impact on system memory and processor.
To install Lubuntu, enter the following:
sudo tasksel install lubuntu-core
Alternately, you can install from the tasksel menu with the command:
tasksel
Use the arrow keys to highlight the Lubuntu GUI you want to use. Press the space bar to select, then Tab to the OK button and press Enter.
You can launch the GUI with:
sudo service display_manager start
Note: Replace ‘your-display_manager’ with your installed display manager, e.g., SLiM, LightDM, SDDM, etc. If you’re doing this remotely, you will later be able to connect remotely to your desktop. See the steps after GUI installation.
You can exit the GUI by opening a terminal window and entering the following:
sudo service display_manager stop
Install Xubuntu Server Core Desktop
Xubuntu core is a lightweight GUI based on the XFCE Desktop Environment. Execute the command below to start the installation:
sudo tasksel install xubuntu-core
Once the installation is complete, launch Xubuntu core with the command below:
sudo service [your-display_manager] start
Install Xfce Desktop
Note: XFCE is only compatible with the SLiM desktop manager.
The Xfce desktop environment can be used by itself. It’s designed to be responsive, lightweight and user-friendly.
The command below will install XFCE4 GUI along with the SLiM display manager. Execute the command below:
sudo apt-get install xfce4 slim
Launch Xfce by entering:
sudo service slim start
Note: The Xfce GUI is compatible with the SLiM display manager only.
Connecting to your Ubuntu Server Remote Desktop with RDP / XRDP from Windows or Linux
Remote Desktop Protocol or RDP is the go-to standard protocol for remote desktop connections. It is available on Windows by default and you can install its Linux version, XRDP, on your server and connect to your remote Ubuntu server GUI from Windows or Linux.
Installing XRDP
To install XRDP on your server, execute the command below:
sudo apt-get install xrdp
then enable XRDP with this command:
sudo systemctl enable xrdp
If you are connecting from Ubuntu then run this command on your own system:
ssh -X [username]@[server]
With RDP
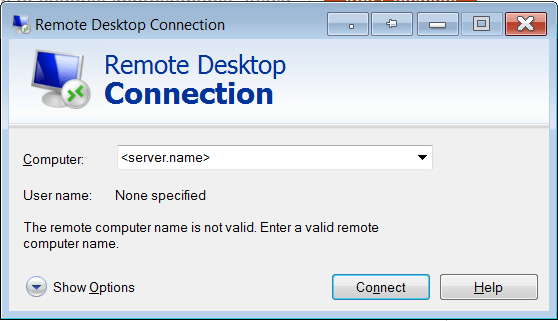
Wait for XRDP to install, then run the Remote Desktop application in Windows using the Start Menu or Search. Type rdp then click on Remote Desktop Connection. With the app open, input the IP address in the Computer field.
With VNC
On your remote server, install the TightVNC Server component after checking for updates:
sudo apt-get install tightvncserver
You’ll then need to run it:
sudo tightvncserver
At this point, you’ll be prompted to set a password for the connection. Make a note of the desktop number, usually :1.
Now that TightVNC Server is set up on Ubuntu, you’ll need to install the client on Windows. This can be downloaded from www.tightvnc.com/download.php—make sure you choose the right version, as it is available in 32-bit and 64-bit flavors.
TightVNC tools are only available as a bundle, so once installed, look for TightVNC Viewer in Windows search.
Once you’ve launched the viewer, input the IP address of the Ubuntu box in Remote Host, followed by the desktop number. So, it might look like this:
192.168.0.99:1
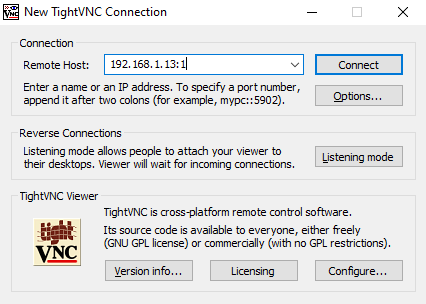
Enter the password and you’re good to go!
Connecting to your Ubuntu Server Remote Desktop from Linux with SSH
X is a server (meaning a program that other programs call upon and be called by) that is responsible for creating a graphical environment and if it fails for whatever reason, you’ll be greeted by Command Line Interface (CLI).
In the server you need an ssh server, for example, openssh-server and at least some basic X tools, for example, xinit and fluxbox (and the programs and libraries that they need). You must also install the application programs that you want to run, I suggest xterm and the graphical application programs that you want to run.
In the client computer, you need ssh to log in and sftp to transfer files or some other tool, that can perform the same tasks, for example, FileZilla.
Then you can log in remotely with graphics:
ssh -X user@ip-address
# for example:
ssh -X [email protected]
and then you can start graphical application programs, for example:
xterm
libreoffice file.odt
evince file.pdf
eog file.png
virtualbox
Using ssh directly like this is simple, but maybe not as elegant as RDP or VNC.
Switching Between GUIs
If you have several GUIs installed you can select which one to use. Once you start your display manager, you will be prompted to log in. However, that screen also allows you to pick which GUI you want to enable.
Switch between GUIs by pressing F1. The interface will toggle between sessions (or GUIs). Log in once you toggle to the GUI of your choice.
However, running more than one GUI on your server will heavily eat into your resources and isn’t recommended at all. It’s best to choose just one GUI and continue with that one.
Conclusion
In this post, you learned how to connect to your server remotely, update your server, install a GUI of your choice, and then run it.
Then we talked about how you can connect to that desktop remotely using RDP / XRDP from Windows or Linux, using VNC from Windows, or using SSH from Ubuntu.


0 Comment